HTML
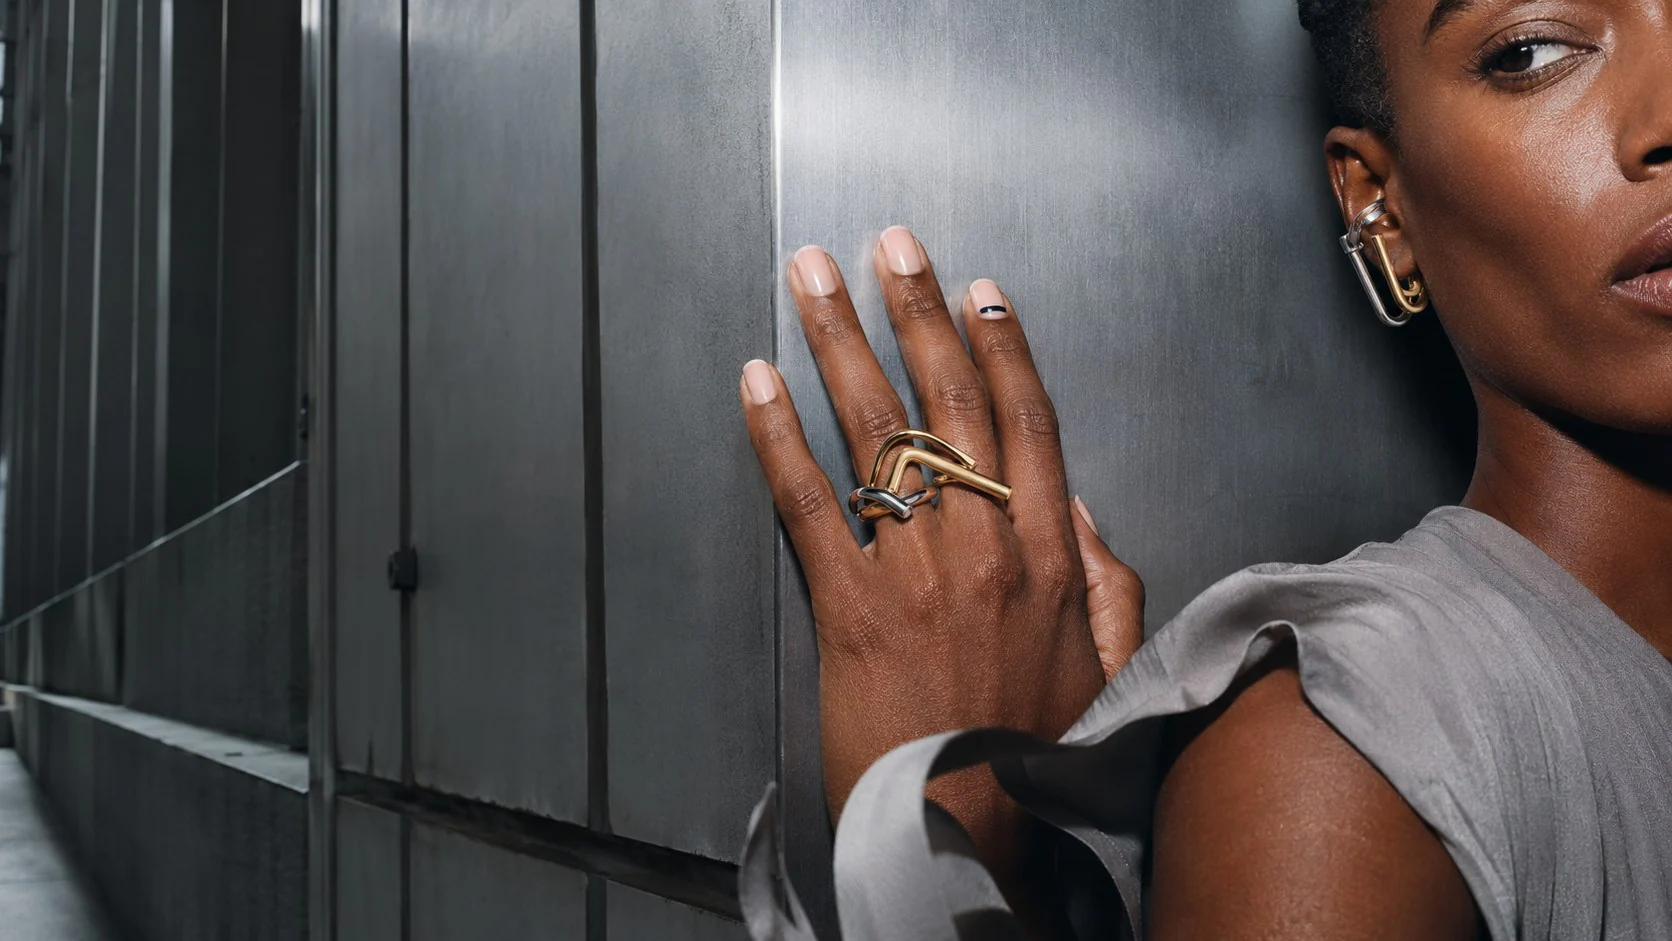
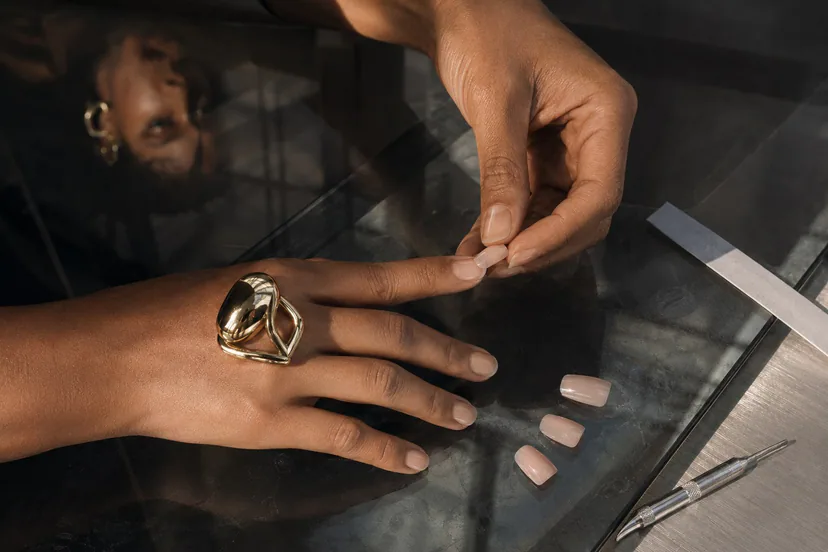
A hand rests against a brushed-steel door: one substantial ring catches the light, while the nails sit close to the fingertip—clean, deliberate, and easy to move in. The best press on nails for short nails should create that balance. They should fit the width and curve of your natural nails, suit the gestures your day requires, and leave enough visual space for jewelry to remain legible. This guide starts before color or decoration. It explains how to judge shape, length, sizing, application, possible reuse, and ring pairing so you can buy a set for the hand you actually have—not an imagined salon hand.
What “best” means when your natural nails are short
Short natural nails do not need to be disguised. They need a press-on silhouette that respects the nail bed beneath it, the finger around it, and the pieces the hand will touch. The key question is whether the press-on looks seated rather than perched.
Before buying, separate four questions that product photography often compresses into one:
- Width: Does each tip cover the natural nail from sidewall to sidewall without touching skin?
- Curve: Does the underside sit close to your natural nail, or does it rock, pinch, or leave a large central gap?
- Length: Can you type, fasten jewelry, use a phone, and handle daily pieces without changing every gesture?
- Visual weight: Does the outline support your rings and clothing, or compete with them?
This is a buying guide based on fit and proportion, not another seasonal color list. For broader warm-weather styling, the guide to short nails and strong hand styling explores color and seasonal balance. Here, the practical choices come first.
Best press on nails for short nails by shape and length
When comparing press on nail shapes for short nails, start with coverage rather than the shape name. Round, oval, squoval, square, and almond are only starting points. Two “short oval” sets can differ in sidewall width, taper, arch, and free-edge length. Read measurements when available and study the underside as carefully as the painted surface.
Soft squoval: the adaptable starting point
A soft squoval combines straighter sidewalls with rounded corners. It works well when your natural nail beds are moderately wide, when you type often, or when you want a grounded outline beside a large ring.
Short oval: a quieter lengthening effect
A short oval narrows gently toward the tip and can make the finger line appear more continuous. It is useful when square feels too broad, but pointed almond requires more length than your daily life permits. Avoid an oval that narrows enough to leave the natural nail exposed.
Rounded square: for broad beds and graphic jewelry
Rounded square tips can suit flatter or wider nail beds, especially with polished bands, dome rings, or open geometric forms. Because the front edge is visually firm, keep the extension short when the ring already has considerable width or stone volume.
Micro almond: sculpture with stricter fit demands
A very short almond can introduce direction without becoming theatrical. It needs enough length to taper cleanly. Choose it only when the widest point still covers your nail and the taper begins beyond—not on top of—the sidewalls.
For a first purchase, prioritize short or extra-short length over a dramatic shape name. The aim is a controlled continuation of the finger, not length at any cost.
Fit before finish: the five-minute sizing check
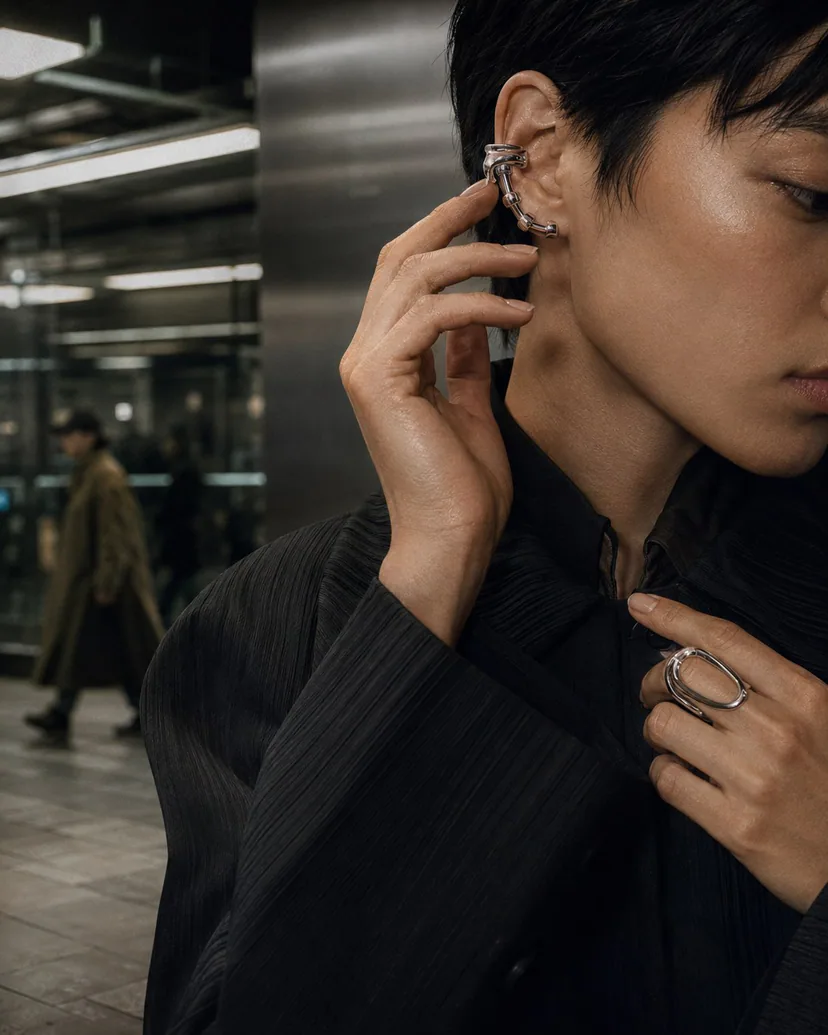
Color, chrome, or relief cannot rescue a press-on that is too narrow, too wide, or too curved. Use this check before adhesive touches the nail.
- Start with clean, dry hands. Prepare the surface according to the adhesive instructions. Do not apply over irritated, painful, visibly infected, or significantly damaged nail areas.
- Place every size without adhesive. The tip should cover the nail plate from sidewall to sidewall while avoiding surrounding skin.
- Press lightly at the center and edges. If it springs upward, rocks, pinches, or needs force to flatten, the curvature may not suit your nail.
- Check the cuticle edge. It should follow the natural base line without digging into skin. A large gap is a fit issue, not something to solve with excess adhesive.
- Test a real gesture. Type, pick up a coin, close an earring, and turn a ring. If the length interrupts your repeated movements, choose shorter.
The Switchroom buying formula: correct width + compatible curve + workable length + one dominant visual element. That final element may be a sculptural ring, a raised nail detail, or a vivid enamel interruption—not all three at maximum volume.
If measurements are provided, compare them with your nails rather than assuming a universal numbered size. Measure the widest part of each nail plate and note the measurements for both hands; corresponding fingers are not always identical.
Browse the Switchroom nail collection by looking first for shape, length, and sizing information, then surface design. For the creative context, read press-on nails as miniature canvases.
Application, removal, and possible reuse
Press-ons use different application methods, so a single wear-time promise would be misleading. Adhesive tabs, liquid glue, preparation, nail condition, water exposure, daily tasks, and removal method can affect the result. Follow the directions supplied with the specific adhesive and set rather than treating social-media timing claims as universal.
The U.S. Food and Drug Administration advises consumers to read nail-product labels, follow warnings, use products with appropriate ventilation, and avoid misuse. It also notes that infections and allergic reactions can occur with some nail products. Keep adhesive away from skin, stop using a product if you develop a concerning reaction, and seek medical advice when symptoms are significant or persistent. Read the FDA’s nail-care product guidance.
Hygiene begins before styling. The U.S. Centers for Disease Control and Prevention recommends keeping nails short and clean, scrubbing beneath them with soap and water, cleaning grooming tools before use, and not cutting cuticles because they act as a barrier. See the CDC nail-hygiene guidance.
Removal matters as much as application. Do not pull or force off a press-on because one edge has lifted. Use the method specified for the adhesive, work slowly, and pause if removal is painful. The American Academy of Dermatology warns that covering brittle, soft, or damaged nails can worsen existing problems and recommends time without artificial coverage. Do not use a cosmetic layer to conceal a nail problem that needs attention. Review the AAD’s damage-reduction advice.
Are reusable press on nails really reusable? Sometimes, but reuse is conditional rather than guaranteed. A set may be suitable to wear again when the tips remain clean, structurally sound, undistorted, and compatible with the next application method. Dried adhesive, lifting layers, cracks, discoloration, odor, or a compromised underside are reasons to stop.
Store retained pieces dry and separated so their edges and details do not abrade one another. Follow the product instructions; Switchroom’s care and sizing guidance emphasizes clean, dry application, keeping adhesive off skin, and gentle removal. For heat, sunscreen, swimming, and friction, consult the guide to press-on nails in summer and real life.
How to pair short press-on nails with rings
Short nails give jewelry something valuable: negative space. The fingertip stays visually close to the ring, so metal construction, stone setting, and open areas can be read clearly. The useful pairing method is not exact color matching. It is controlling where the hand carries volume.
- Wide dome or substantial band: choose soft squoval or rounded-square nails with a smooth, low-relief surface.
- Open architectural ring: use short oval or micro almond tips to continue the ring’s directional line.
- Multiple slim rings: allow one nail detail—an embedded line, translucent edge, or small raised point—to become the counterweight.
- Stone-heavy ring: keep nail color quieter or more translucent so the setting remains the focal piece.
- Enamel or colored resin ring: repeat one small color cue on the nails instead of matching every finger.
Think in silhouette before metal tone. A broad square tip beside a broad square ring can make the hand feel blocked; changing one element to a curve restores movement. A pointed nail beside an angular ring can work, but the rest of the hand should be edited. A pearl, cabochon, or rounded dome often benefits from a straighter short nail because the contrast clarifies both forms.
When shopping for rings to wear with short nails, look at how far the ring extends across the finger, how high it rises, and whether its edges may catch on hair, knitwear, or bags. The hand must still close, grip, dress, and move.
The best purchase is not the set with the most decoration. It is the set whose fit disappears enough for the whole hand to become visible: nail, ring, skin, sleeve, and gesture. Start with fit. Add one clear shape choice. Let jewelry lead when it deserves the room.
Ready to build the hand as one composition? Explore short press-on possibilities, then choose a ring whose construction remains visible beside them. Buy only after checking measurements, length, application instructions, and care.
Frequently asked questions
What are the best press on nails for short nails?
The best press on nails for short nails cover the natural nail without touching skin, follow its curve without rocking or pinching, and use a length that suits daily gestures. Soft squoval, short oval, and rounded square are adaptable starting points, but fit matters more than the shape name.
Should press-on nails be slightly wider or narrower than the natural nail?
They should cover the nail plate from sidewall to sidewall without overlapping surrounding skin. A too-narrow tip can leave exposed edges, while a too-wide tip may press on skin. Follow the product’s sizing or customization guidance rather than forcing a mismatch.
Can short press-on nails be reused?
Some short press-on nails may be reusable if the product is designed for it and the tips remain clean, intact, undistorted, and compatible with another application. Reuse depends on construction, adhesive, removal, storage, and condition, so it should not be assumed or guaranteed.
Which rings look best with short nails?
Short nails can work with slim bands, domes, open architectural rings, pearls, cabochons, and stone settings. Balance the volume: pair substantial rings with simpler low-relief nails, or let one small nail detail counter several slim rings. Shape contrast is often more useful than exact color matching.
When should I avoid applying press-on nails?
Avoid applying them over irritated, painful, visibly infected, or significantly damaged nail areas. Follow product warnings, keep adhesive off skin, and stop if you develop a concerning reaction. Persistent pain, swelling, redness, or other symptoms should be assessed by a qualified healthcare professional.